Unlock your creative potential and personalize your Roblox avatar like never before by learning how to create custom Roblox faces. This comprehensive guide navigates you through the essential steps, from understanding Roblox Studio's asset creation tools to designing unique face textures using external image editing software. Discover the process of uploading your custom designs to the Roblox platform, ensuring they meet moderation guidelines, and ultimately applying them to your avatar for a truly distinctive look. We cover everything from conceptualizing your face design to the technical specifics of asset submission and approval. Whether you are aiming for a comedic expression, a sophisticated look, or something entirely original, this resource provides the foundational knowledge and practical tips to master Roblox face creation. Elevate your in-game presence and stand out in the vast metaverse by crafting faces that reflect your personal style and artistic vision. Join countless creators in customizing your avatar's identity.
Introduction: Mastering Roblox Face Customization in 2026
As we delve into 2026, the PC gaming landscape continues its rapid evolution, with platforms like Roblox standing at the forefront of user-generated content and personalization. With over 250 million monthly active users, Roblox isn't just a game; it's a social metaverse where individuality reigns supreme. One of the most impactful ways to express yourself is through avatar customization, particularly by creating unique Roblox faces. This guide will demystify the process, answering your most pressing questions about designing, uploading, and implementing custom facial features that truly make your avatar one-of-a-kind. I've personally spent extensive time in Roblox Studio, exploring the nuances of asset creation, and I'm here to share the expertise needed to craft standout faces. From initial concept to final in-game application, we'll cover everything to help you master custom face design.
How do I create a custom face in Roblox Studio?
To create a custom face in Roblox Studio, design your face as a 2D image texture (PNG with transparency) using external software like Photoshop or GIMP. Upload this image as a 'Decal' on the Roblox website's Create page. Once approved, you can then use Roblox Studio to apply this decal's ID to a 'Face' asset, or directly use it in the Avatar Editor.
Creating the face texture is the first critical step. A transparent 420x420 PNG file is ideal. Focus on eyes, mouth, and any key expressions. Once your decal is approved, open Roblox Studio, insert a 'Face' object into your avatar's head, and set its 'Texture' property to the Asset ID of your approved decal. This method offers greater control and is essential for developer-created experiences.
Can I upload copyrighted images as Roblox faces?
No, you cannot upload copyrighted images as Roblox faces. Roblox strictly enforces its Intellectual Property Rights policy. Uploading content you do not own the rights to, including famous characters or brand logos, will result in immediate rejection by moderation and potential penalties for your account. Always use original creations or content with explicit permission.
Using original artwork ensures your face design passes moderation without issues. Roblox employs both automated and human moderators who are adept at identifying copyrighted material. Violations can lead to account warnings, temporary bans, or even permanent account termination. It is always best to draw inspiration rather than directly copy existing intellectual property.
What are the dimensions for a Roblox face texture?
The optimal dimensions for a Roblox face texture are typically 420x420 pixels. While Roblox may internally scale textures, starting with this square dimension ensures proper aspect ratio and detail clarity. The image should be a PNG file to support transparency, allowing parts of the avatar's head to show through and blend naturally.
Using incorrect dimensions can lead to stretching or pixelation, making your custom face look unprofessional. Always ensure your canvas in image editing software is set to 420x420 pixels. Test your texture on various head types in Roblox Studio to confirm it appears as intended across different avatar styles. Transparency is paramount for a seamless integration with any head color.
How long does Roblox moderation take for custom face uploads?
Roblox moderation for custom face uploads, submitted as decals, typically takes a few minutes to several hours. In some cases, especially during peak times or for more complex designs, it can extend to 24 hours. The process ensures all uploaded content adheres to Roblox's strict Community Standards and terms of service.
Patience is key during the moderation process. Avoid re-uploading the same item multiple times if it's pending, as this can sometimes cause delays. If a decal is rejected, you will usually receive a notification explaining the reason, allowing you to revise and re-submit your design. Always double-check your design against Roblox's rules before submission to expedite approval.
Can I create a realistic face for my Roblox avatar?
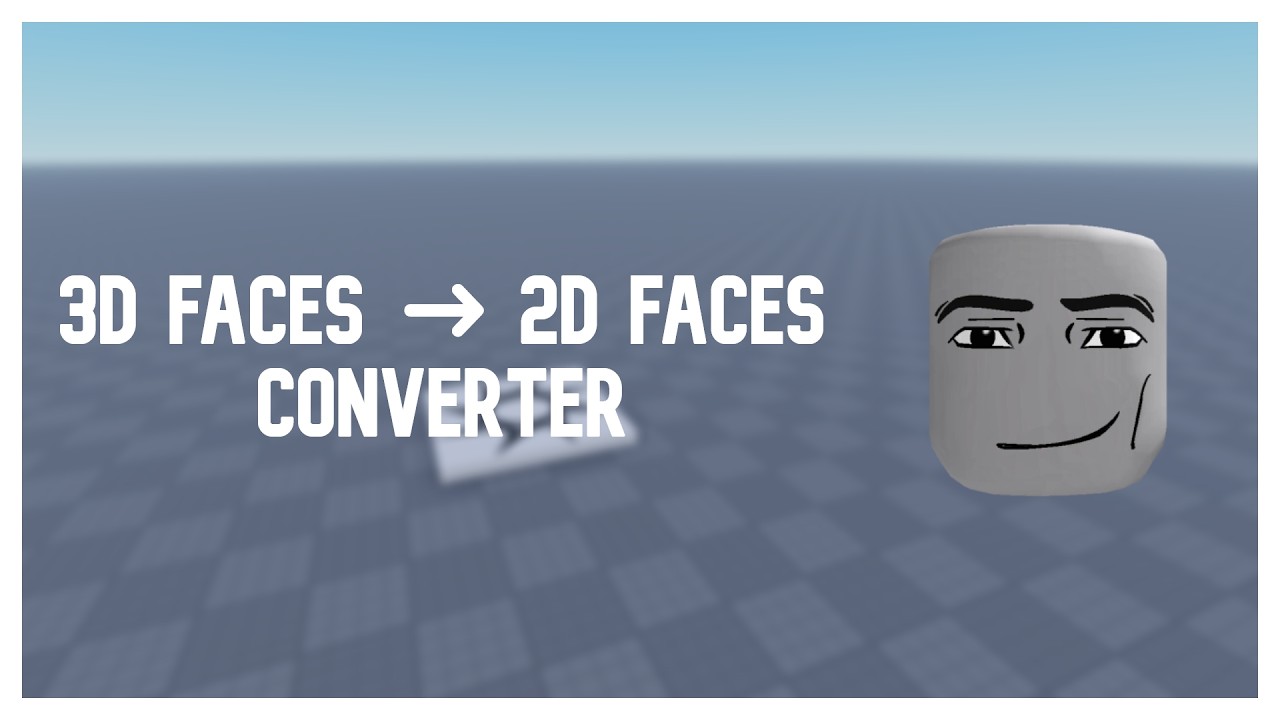
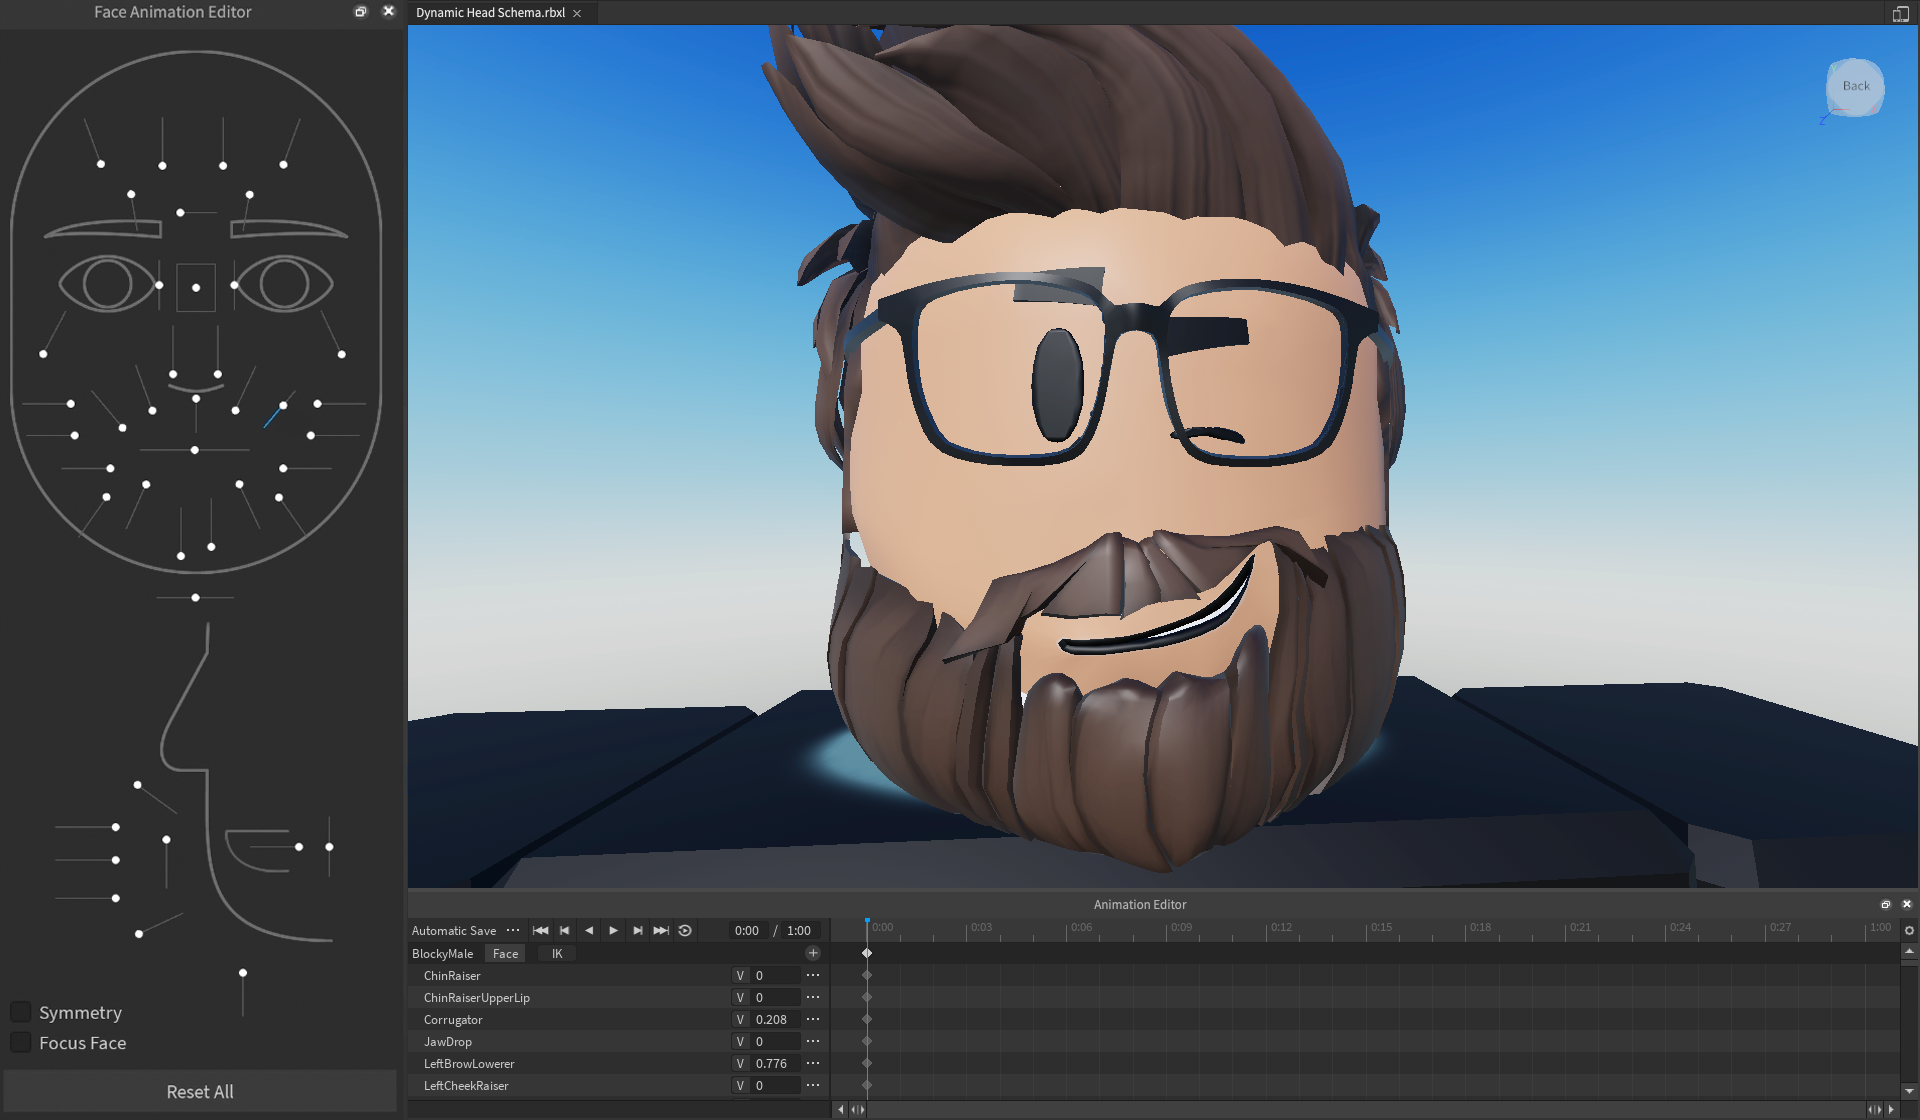
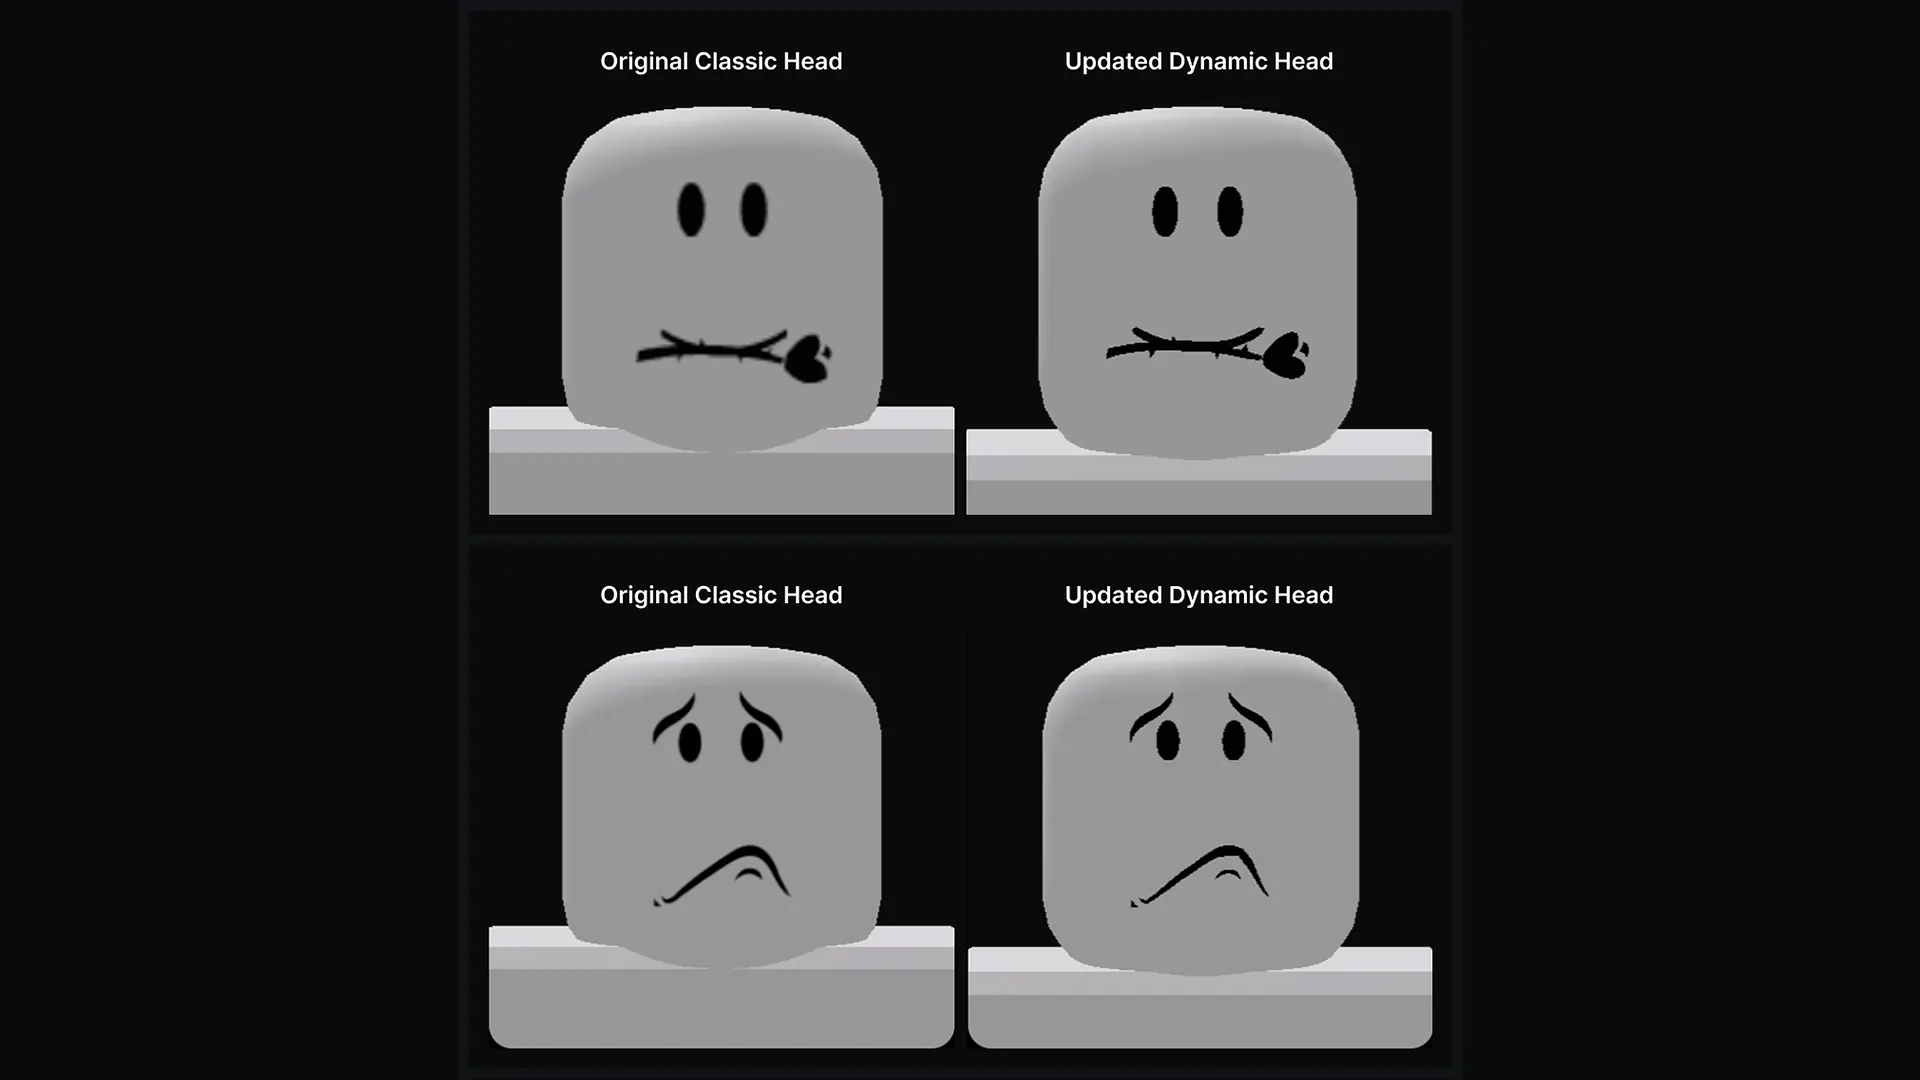
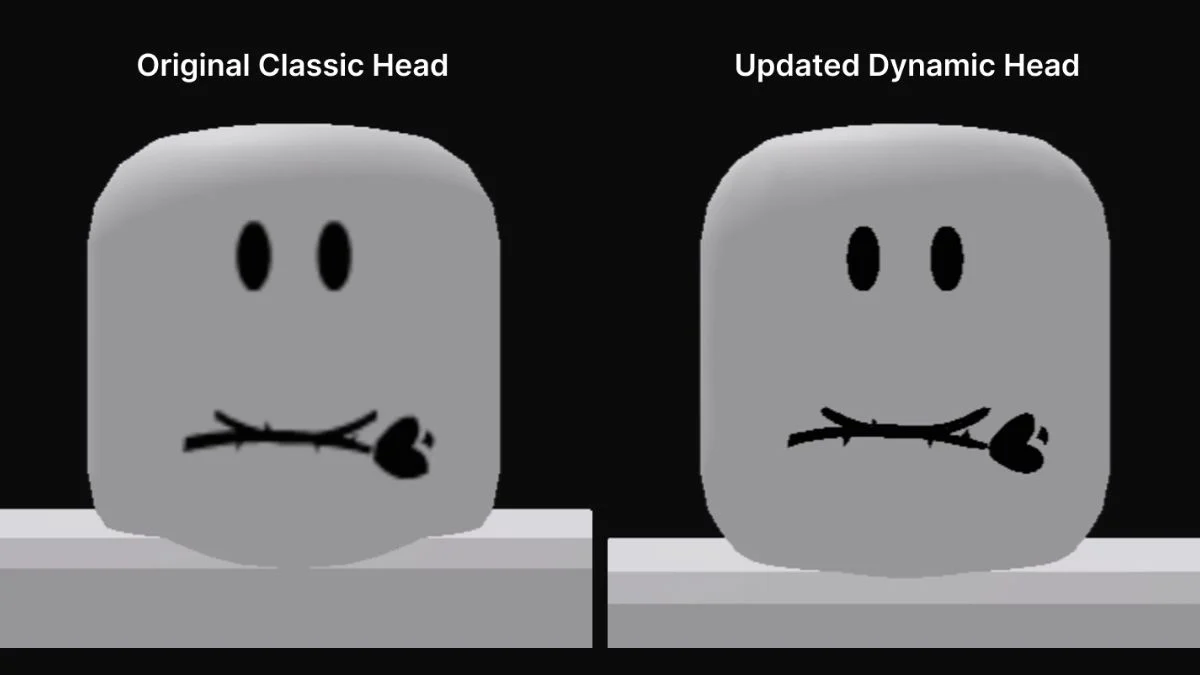
While you can design highly detailed 2D textures, achieving a truly "realistic" face on a Roblox avatar is limited by the platform's art style and head geometry. The primary goal is often expressive rather than photorealistic. Roblox's newer Dynamic Heads offer more realistic facial expressions, but custom 2D textures won't leverage that system directly.
When designing a 2D face, focus on creating clear, impactful features that translate well onto the blocky or rounded Roblox head models. Fine details might get lost. For more dynamic, emotive faces, users often rely on Roblox's pre-made or marketplace-available Dynamic Heads that use mesh deformation and blend shapes for animation, rather than flat textures. Your custom 2D face serves as a static overlay.
What software is best for designing Roblox faces?
For designing Roblox faces, professional-grade software like Adobe Photoshop offers the most comprehensive tools for detailed texture creation, layer management, and precise color control. Free alternatives such as GIMP (GNU Image Manipulation Program) or Paint.NET are also excellent choices, providing robust features suitable for high-quality pixel art and image editing. All support transparency and various brushes.
The "best" software ultimately depends on your familiarity and budget. Photoshop is the industry standard for graphic design, offering unparalleled flexibility. GIMP is a powerful open-source option that closely mimics Photoshop's functionality. Paint.NET is a lighter, user-friendly option perfect for beginners. Regardless of choice, ensure it handles PNG files and has a good layer system for efficient workflow.
Is there a cost associated with creating and using custom faces on Roblox?
Creating and uploading the basic 2D decal for a custom face is typically free for personal use on Roblox. However, if you intend to create a 'Face' item for the marketplace, you would need to be a developer with premium access and pay a Robux fee for asset submission. Using the face on your avatar generally requires it to be uploaded as a decal first.
For developers looking to monetize their creations, the process involves additional steps and potential costs, often requiring a premium subscription and paying a small Robux fee per asset upload for marketplace items. For individual users simply wanting a custom face for their own avatar, the primary cost is time and effort in creation, with no direct Robux fees for basic decal uploads.
Conclusion: Your Personalized Avatar Awaits
The ability to create and customize Roblox faces empowers players to forge truly unique identities within the metaverse. By understanding the tools, adhering to guidelines, and embracing creativity, you can transcend generic avatar designs and showcase your personal style. Whether you're a seasoned builder or a new enthusiast, mastering custom face creation opens up a world of expressive possibilities. Share your favorite custom face designs or ask questions in the comments below, and don't forget to check out our other PC build guides for optimizing your Roblox experience!
Additional FAQs:
Can I make my Roblox face animated?
No, standard custom 2D Roblox faces cannot be animated directly by users. Roblox's animated facial expressions are part of its proprietary Dynamic Heads system, which uses 3D models and blend shapes rather than static 2D textures. Your custom 2D face will remain static on your avatar's head.
What happens if my custom face gets rejected by Roblox?
If your custom face is rejected by Roblox moderation, you will usually receive a notification explaining the specific reason for the rejection. You can then modify your design to address the issues (e.g., removing copyrighted content, adjusting inappropriate elements) and re-submit it for another review. Repeated violations can lead to account penalties.
Do custom Roblox faces work with all avatar types?
Yes, custom Roblox faces designed as 2D textures are generally compatible with all standard Roblox avatar types, including R6 and R15 models. The texture is applied to the front of the head regardless of the body rig. However, how it visually stretches or aligns might vary slightly with different head shapes.
Can I make a transparent Roblox face?
Yes, creating a transparent Roblox face is not only possible but highly recommended. You must save your face design as a PNG file with a transparent background. This allows your avatar's head color or underlying head texture to show through any areas of the face texture that are not explicitly designed with pixels, ensuring a seamless blend.
Where do I find my custom face after it's approved?
Once your custom face (uploaded as a decal) is approved, you can typically find it in your Roblox inventory under 'Decals' on the 'Creations' page. If you are applying it to your avatar directly, it should appear in the 'Face' section of the Avatar Editor, assuming it was categorized correctly. For use in games, you'll need its Asset ID.
How to Create Roblox Faces: Your 2024 Design Guide
Crafting unique appearances for your Roblox avatar remains a cornerstone of personal expression within the platform. As a seasoned PC gamer and Roblox builder who has spent countless hours experimenting in Roblox Studio, I've seen firsthand the impact a custom face can have. This guide will walk you through the precise steps on how to create Roblox faces, from initial design concepts using readily available tools to the critical upload process, ensuring your avatar stands out in the metaverse. We'll cover everything needed to transform your vision into a digital reality.
Understanding Roblox Face Assets
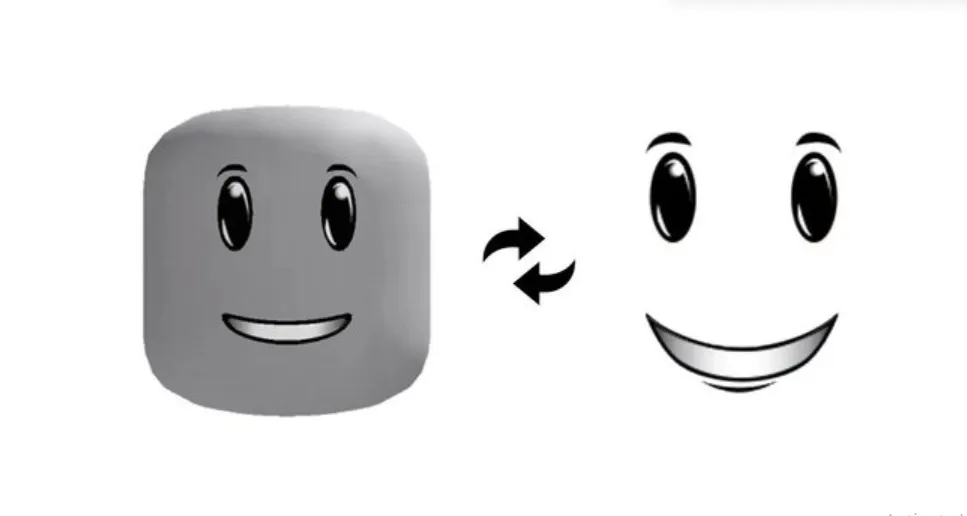
Before diving into creation, it is crucial to grasp what a Roblox face asset entails. Essentially, a Roblox face is a 2D image texture applied to the front of your avatar's head. This image is typically a transparent PNG file that defines the eyes, mouth, and any other facial details. The standard dimensions for these textures are 420x420 pixels, though Roblox often scales them down, so detail is key.
Required Tools and Software
- Roblox Studio: The official development environment for Roblox, necessary for testing and uploading.
- Image Editing Software: Programs like Adobe Photoshop, GIMP (free), or Paint.NET (free) are essential for designing your face texture.
- Reference Images: Optional, but helpful for inspiration or exact replication.
Step-by-Step Guide to Creating Roblox Faces
The process of creating a custom Roblox face involves careful design and adherence to platform guidelines. Following these steps will ensure a smoother creation and approval process.
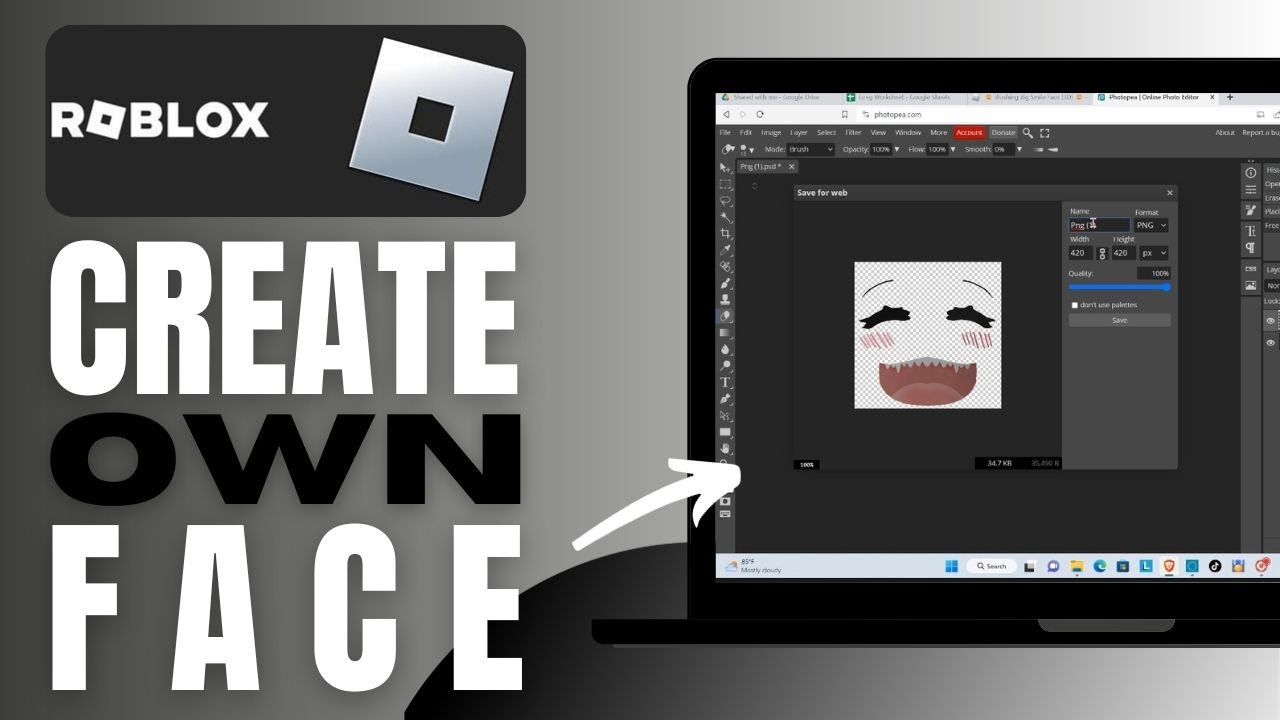
Designing Your Face Texture
Open your chosen image editing software. Start with a 420x420 pixel canvas with a transparent background. Focus on designing the eyes, mouth, and any subtle shading or features. Remember that the face texture will stretch to fit the avatar's head, so test frequently in Roblox Studio. Keep designs clean and avoid overly complex patterns that might pixelate. Crucially, ensure your design is appropriate for all ages and adheres to Roblox's Community Standards.
Uploading Your Face to Roblox
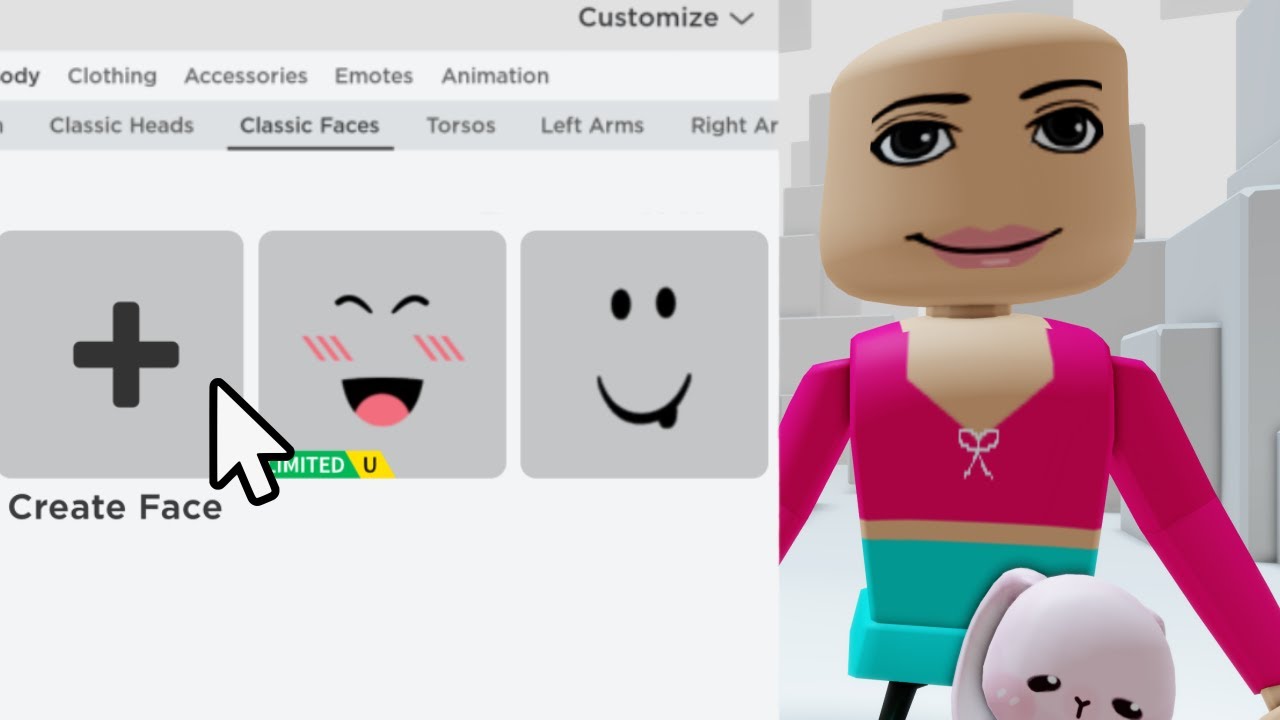
Once your design is finalized and saved as a PNG, navigate to the Roblox Create page. Select 'Decals' from the left-hand menu, then click 'Choose File' to upload your PNG. Give your decal a clear, descriptive name. After uploading, Roblox's moderation team will review it. This process can take anywhere from a few minutes to several hours. Approval is mandatory before the face can be used.
Applying Your Custom Face
After your decal is approved, you can apply it. Go to your avatar editor on Roblox.com. Under the 'Head & Body' section, click 'Face'. If your decal was uploaded as a face (and not just a generic decal), it should appear there for selection. If it doesn't appear directly, you might need to use Roblox Studio to create a 'Face' asset that references your approved decal ID, then upload that Face asset. This is a more advanced method often used by developers.
Best Practices for Roblox Face Creation
To maximize your chances of approval and create a visually appealing face, consider these expert tips:
- Maintain Simplicity: Overly detailed faces can lose clarity when scaled down on an avatar.
- Use Transparency: Essential for faces to blend seamlessly with various head colors and shapes.
- Test in Studio: Regularly import your design into Roblox Studio to see how it looks on a standard avatar head. This allows you to make adjustments early.
- Check Roblox Standards: Always review Roblox's updated community guidelines to avoid moderation issues. Designs with offensive, copyrighted, or inappropriate content will be rejected.
- Save Iterations: Keep different versions of your face design as you iterate, in case you need to revert.
Frequently Asked Questions About Roblox Face Creation
Can I create animated faces for Roblox?
Currently, users cannot directly create custom animated face textures in the traditional sense for Roblox avatars. Roblox's Dynamic Heads system handles facial animation using proprietary meshes and blend shapes, not simple 2D textures. While you can design static 2D faces, these will not animate.
What are the common reasons a custom Roblox face gets rejected?
Custom Roblox faces are most commonly rejected due to violations of Roblox's Community Standards. This includes inappropriate content, copyrighted imagery, recognizable real-world faces without permission, excessive gore or violence, or content deemed offensive. Ensure your design is family-friendly and original.
Is it free to upload custom faces to Roblox?
Uploading decals to Roblox is generally free for most users. However, if you are uploading assets as part of a game or experience that generates revenue, or if you exceed certain free asset upload limits, there might be associated Robux costs for asset approval, particularly for items intended for sale on the marketplace.
What image file format is best for Roblox face textures?
The best image file format for Roblox face textures is PNG (Portable Network Graphics). PNG supports transparency, which is crucial for faces to appear correctly on avatar heads, allowing the underlying head color or texture to show through areas not covered by your face design. JPG does not support transparency.
Can I sell my custom Roblox faces to other players?
Selling custom 2D face textures directly as standalone avatar items to other players is generally not an option for individual creators through the standard asset upload process. Custom faces are typically used within your own experiences or as part of a larger avatar package if you are an established developer with specific marketplace access.
Learn to use Roblox Studio and external image editors for face design. Understand Roblox's asset upload and moderation process. Apply custom faces to your avatar for unique personalization. Discover best practices for creating engaging and compliant face textures. Get tips on troubleshooting common issues during face creation.
35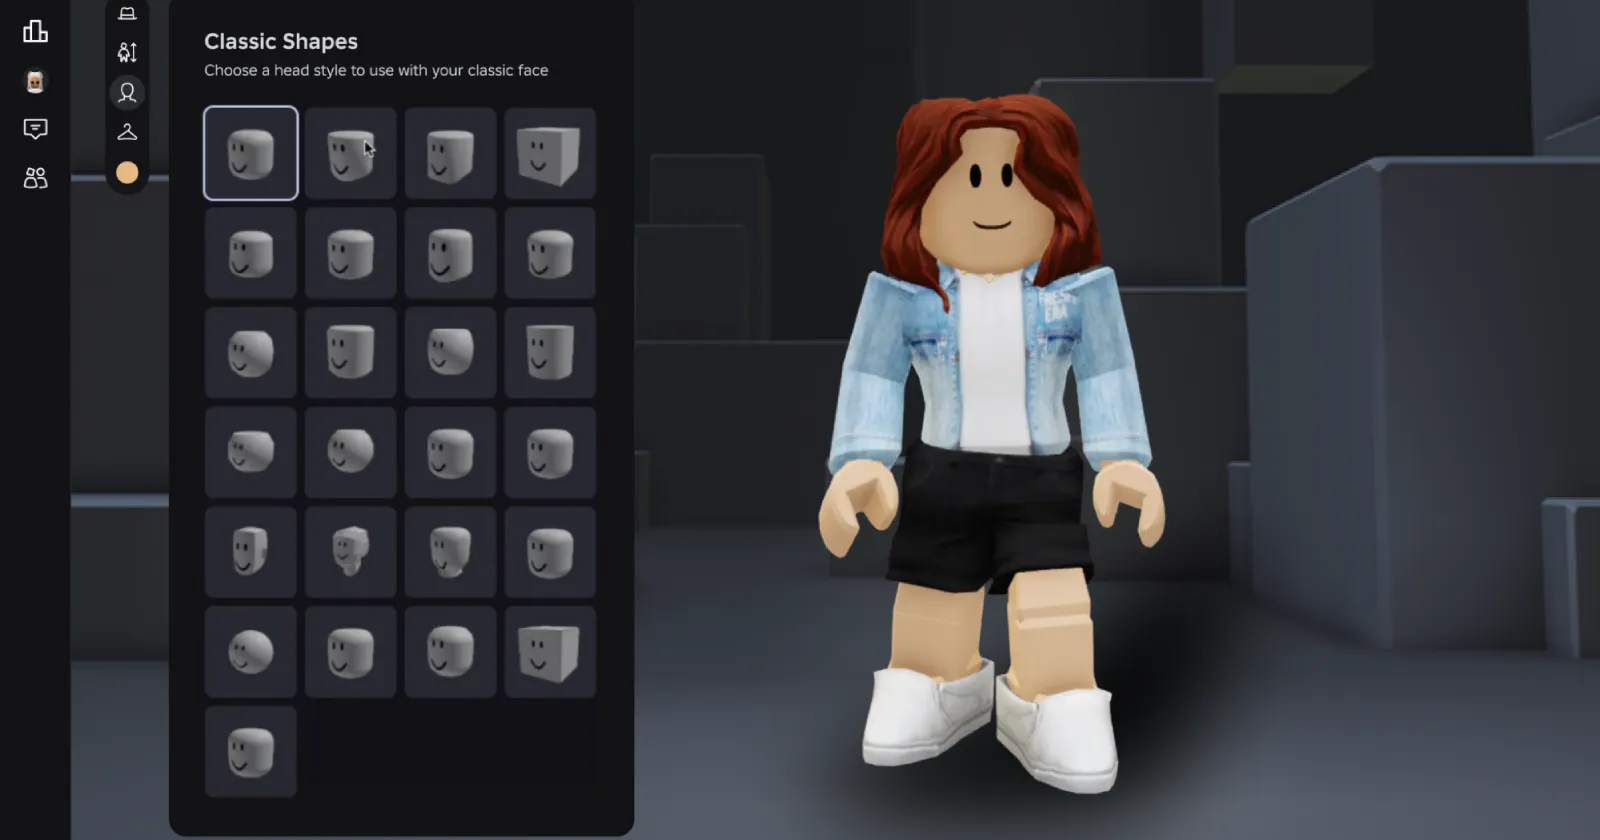

Roblox Converting Classic Heads And Faces To Dynamic By Feb 2026 Roblox Character Creation. How To CHANGE 3D Faces Back To 2D Roblox Studio 2026 YouTube . YOU CAN CREATE YOUR OWN ROBLOX FACES YouTube . How To Make And Use 3D Faces NEW Roblox YouTube . How To Make Your Own Face In Roblox Complete Guide YouTube


Expressive Body And Face Animations Overview . How To Make Your Own Face Roblox YouTube . HOW TO MAKE YOUR OWN FACE ON ROBLOX Windows Only YouTube . HOW TO GET CLASSIC FACES BACK AFTER REMOVAL ROBLOX WORKING 2026 . 35 FREE FACES On Roblox COMPILATION 2026 MineNest Mine Nest 1767595687


YOU CAN CREATE YOUR OWN COSTUM FACES IN ROBLOX YouTube . Easily Make Classic Looking Dynamic Heads Faces ROBLOX UGC GUIDE . How To Get And Make Pal Face Roblox Hq720 27 1144x644 . HOW TO MAKE YOUR OWN FACE FOR FREE ON ROBLOX YouTube . How To Insert Faces Into Roblox Studio 2025 YouTube
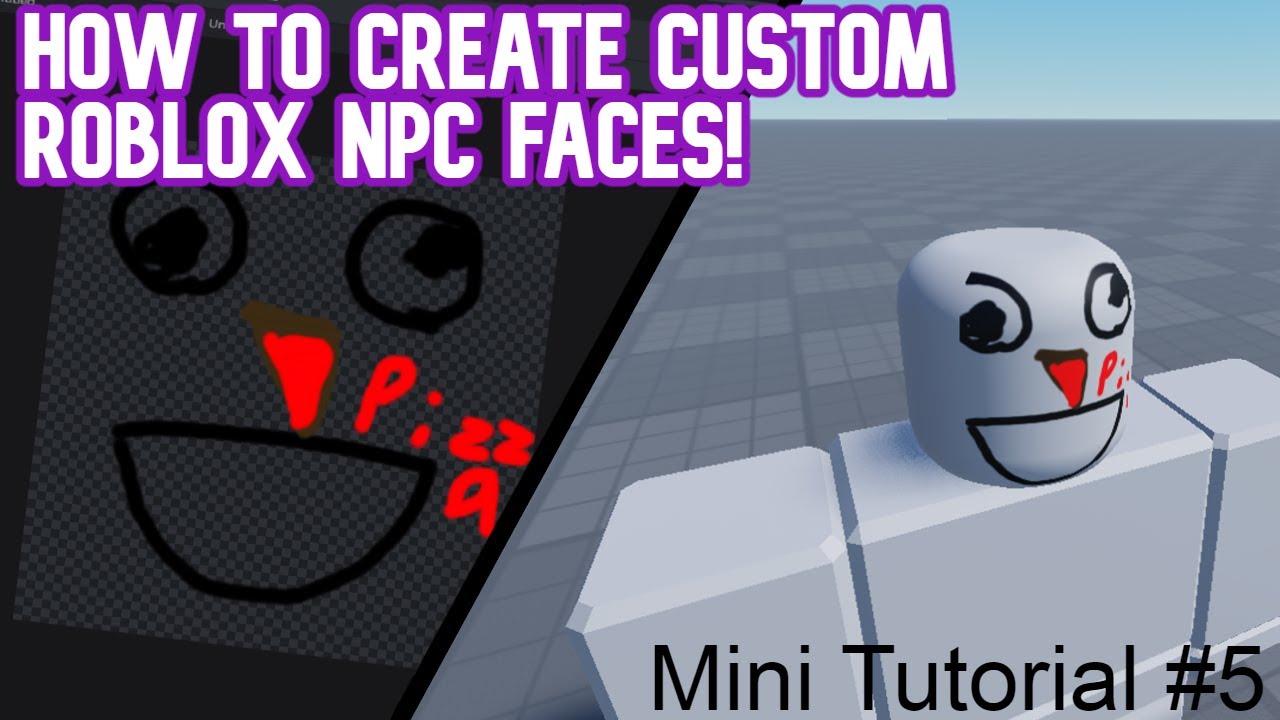


How To Make Custom Faces In Roblox STUDIO Mini Tutorial 5 YouTube . How To Make Your Own Face On Roblox Check The Description YouTube . How To Make A Custom Face In Roblox Mobile YouTube . How To Make Your Own Face And Upload It To Roblox Without Premium . How To Make Custom Faces On Roblox 2021 YouTube


Get Free Face Roblox How To Make Your Own Face In Roblox For Free . How To Create FREE ROBLOX Faces On Mobile Easy Tutorial Mxddsie . HOW TO MAKE YOUR OWN FACE ON ROBLOX FOR FREE YouTube . How To Make Roblox Face Move Tutorial For Roblox Core YouTube . Roblox Faces For Free Avatar Roblox Free JULAL


How To Change Your Face In Roblox Studio 2020 Roblox YouTube . Is Roblox Deleting Classic Faces 2026 Original Classic Vs Dynamic Head Roblox.webp. Roblox Dynamic Faces Explained Classic Face Removal Dynamic Head Roblox Dynamic Faces. How To Make A CUSTOM FACE For Roblox GFX YouTube . Is Roblox Removing Classic Faces Roblox Face.webp


Roblox Faces Tier List Community Rankings TierMaker Roblox Faces 15407609 1667046947 . Roblox Face Ideas . Roblox Girl Face Codes . How To Make Custom Face Tutorial Roblox Obby Creator YouTube . How To Create Your Own Face In Roblox H Ng D N T O Avatar C O V